How to Add Events to Google Calendar From WPForms (0k)
https://wpforms.com/how-to-send-wpforms-entries-to-google-calendar/
PreviousHướng dẫn tăng điểm google pagespeed insights lên xanh (ok)NextReCaptcha v2 for Contact Form 7 (ok)
Last updated
https://wpforms.com/how-to-send-wpforms-entries-to-google-calendar/
Last updated
Last updated on Jun 19, 2020 by Lindsay Liedke
Do you want to learn an easy way to send WPForms entries to Google Calendar? Being able to automatically send form entries to Google Calendar without having to do it manually will save you lots of time and make managing events very easy.
In this article, we’ll show you how to add events to Google Calendar from your WordPress form entries.
If you prefer written instructions, here’s a step-by-step guide on how to add events from WPForms to Google calendar:
The first thing you’ll need to do is install and activate the WPForms plugin. For more details, see this step by step guide on how to install a plugin in WordPress.
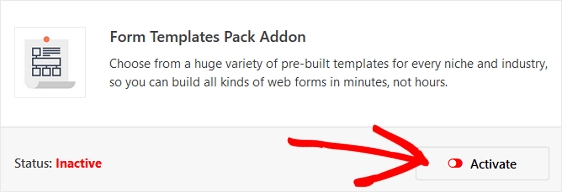
Next, you’ll need to install and activate the Form Templates Pack Addon.
WPForms is the best WordPress Form Builder plugin. Get it for free!
With this addon, you’ll be able to access the pre-built event planner form template, as well as tons of other industry and niche specific templates for creating customized forms for your site.
This saves you the time needed to manually add event planner fields to a simple contact form.
Click Install Addon and Activate.
Next, go to WPForms » Add New to create a new form.
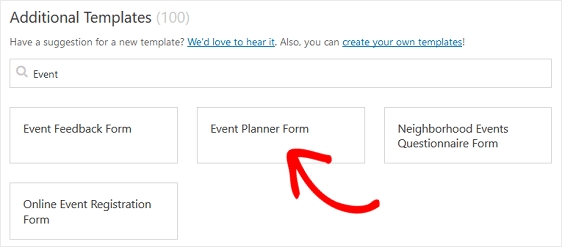
On the setup screen, name your form and scroll down to the bottom of the templates screen where it says Additional Templates.
Type “Event” into the search bar and find the Event Planner form template.
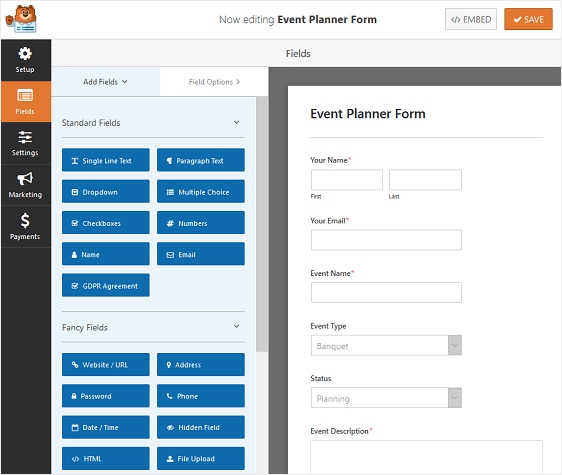
Click on the template and WPForms will create an event planner form for you.
You can even take it a step further and add the awesome number range slider to your form to ask about budgets.
You can create many types of forms with the WPForms plugin templates:
And any number of subscribe forms using our email service provider integrations: Mailchimp, Aweber, Constant Contact, Campaign Monitor, Drip, and GetResponse
All of these forms, and the hundred more you can create with the WPForms Forms Template Pack addon, can have a date and time form field added to it that can then be sent to your Google Calendar.
After you have your form created, you’ll need to install and activate the Zapier addon. This way you can add events from submitted forms into your Google Calendar.
The Zapier addon lets you connect your WordPress forms to over 500+ web apps, including the Google Calendar one. For more help with this step, check out our tutorial on how to install and use the Zapier addon.
Now, let’s take a look at how to connect your WordPress forms to Google Calendar.
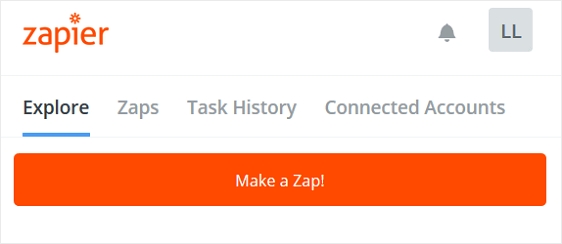
Log into your Zapier account and click on the Make a Zap button near the top of the screen. If you don’t already have a Zapier account, you can create one here .
From there, you’ll need to set up a trigger for your zap. For screenshots of every step required to set up a form trigger, see our tutorial on using Zapier with WPForms.
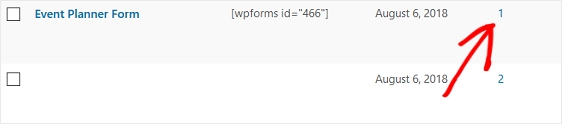
Before moving forward, it’s important to make sure that you have had at least one test entry on your form so that you can proceed through the entire trigger setup process.
To create a test entry on your newly created form you can test it on the frontend of your website, but only if you have already embedded it onto your website for use by site visitors.
If you haven’t embedded your form onto your site, you can perform a test entry from the WPForms preview page for that particular form.
Click on Preview to go to your form.
From there, fill out all of the details and click Submit. This will register as one entry so you can continue setting up your Zapier zap trigger.
Now that you have one successful entry on your WordPress form, go back to your Zapier account.
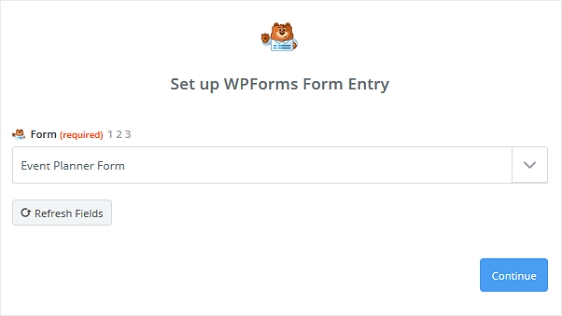
After connecting to your WPForms account, choose the form you just created from the dropdown menu. Click Continue.
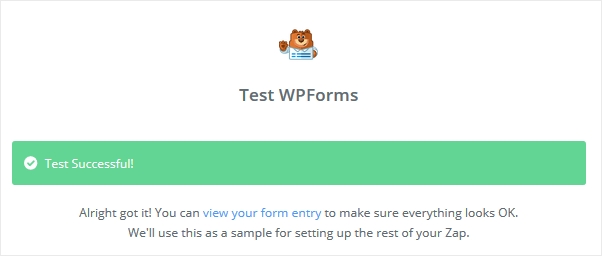
Zapier will run a test on your WordPress form to make sure everything is set up correctly and that you have at least one test entry present. You will see a success message if you have done everything right up until this point.
Click Continue.
Now that Zapier is connected to the WPForms plugin, it’s time to connect WPForms to Google Calendar.
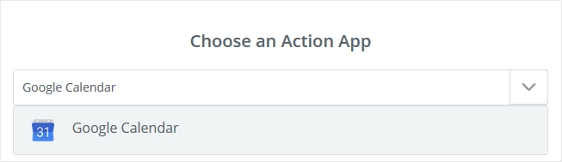
After setting up WPForms as the trigger app in Zapier, you’ll need to choose Google Calendar as the action app. Using the search bar, find the Google Calendar app and click on it.
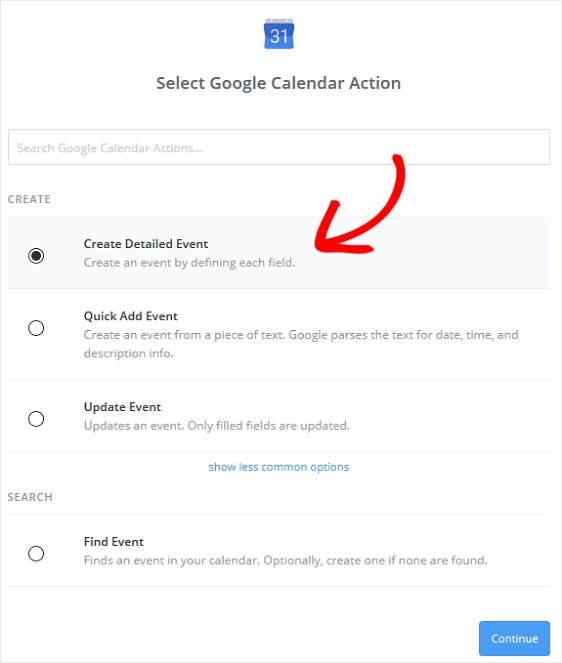
You’ll then select a Google Calendar action. Since we are looking to add events to Google Calendar from form entries, we’ll click on the Create Detailed Event option.
Click Continue.
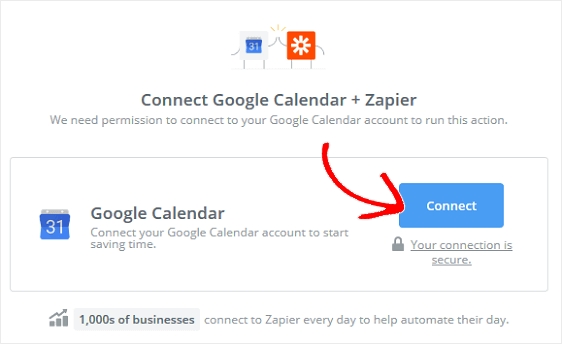
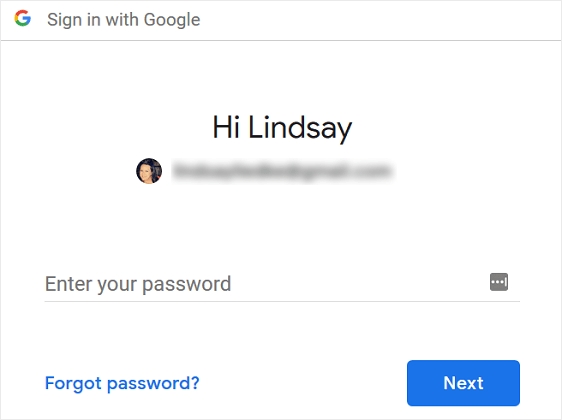
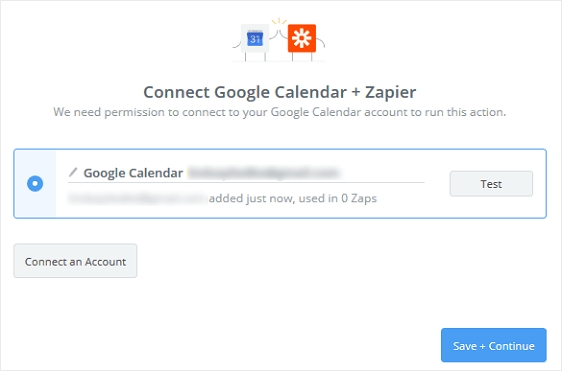
You’ll then need to connect Google Calendar to Zapier. Start by clicking Connect to give Zapier permission to access your Google Calendar.
If you have more than one Google account, just choose the one you want to connect to Zapier and sign in.
Next, click Allow to let Zapier access your Google account.
When you’ve given Zapier access to your Google Calendar account, you’ll see your Google account in your Zapier account.
Click Save + Continue.
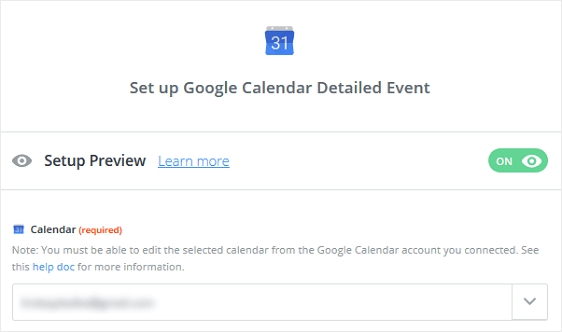
Now it’s time to set up your Google Calendar events so when someone submits a form on your site, the right information is sent to your Google Calendar.
First, choose the Google Calendar you want events added to from the dropdown menu.
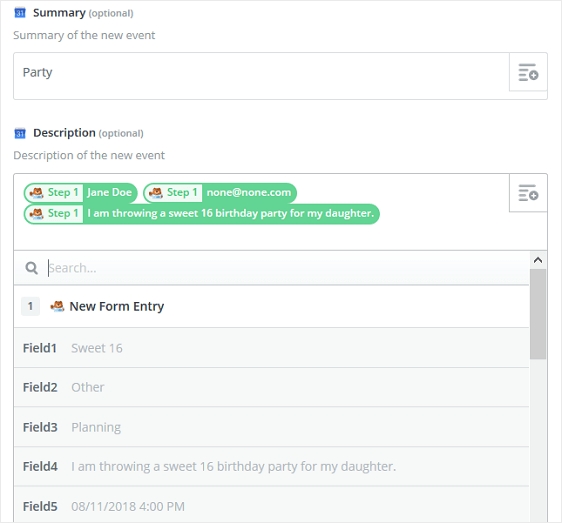
Next, add an event summary if you want. In our example, we’ll call our summary “Party.”
Now, in the Description section, we’ll choose the form fields Name, Email, and Comments or Message from the dropdown menu. You’ll have to add each one individually.
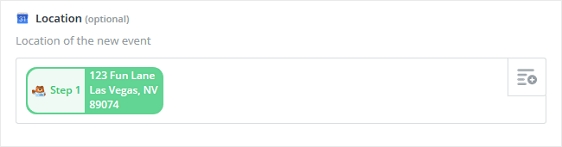
Keep scrolling down to the Location section and choose the Address form field.
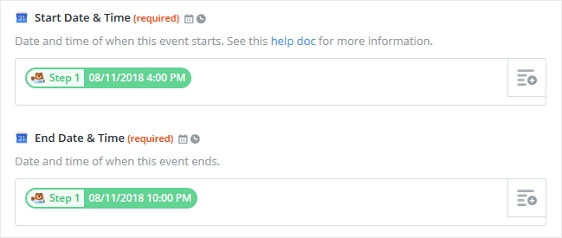
Lastly, select the Start Date & Time and End Date & Time from the dropdown menus.
When you’re done customizing the form fields, click Continue.
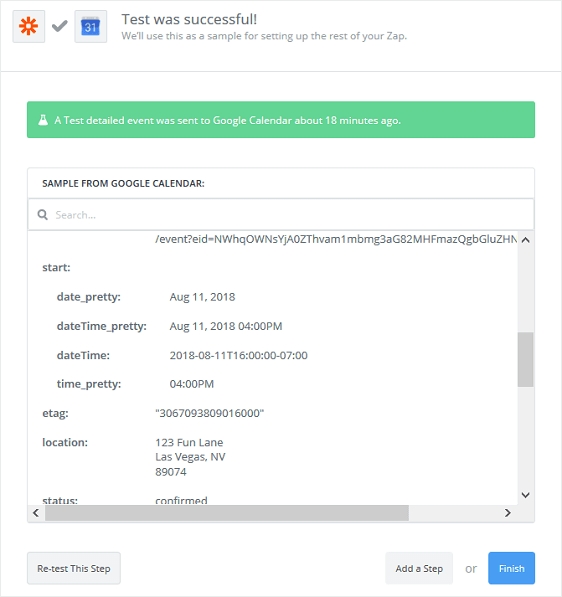
If you want to make sure your WordPress form event will be added to your Google Calendar, all you have to do is click Send Test To Google Calendar on the next screen.
You’ll receive a message that a test form was sent to Google Calendar and see what the form looks like.
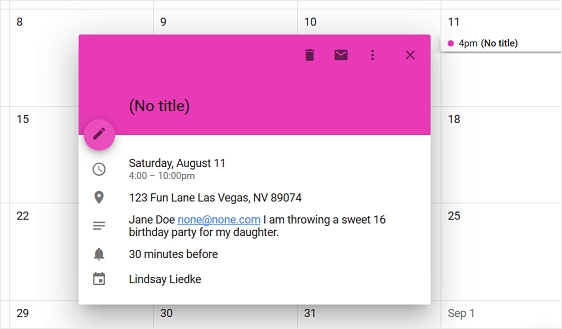
To see if the test form worked, go to your Google Calendar and check it out:
Notice that the information filled out on the WordPress form is now in our Google Calendar, complete with date, time, address, name, email, and comment or message.
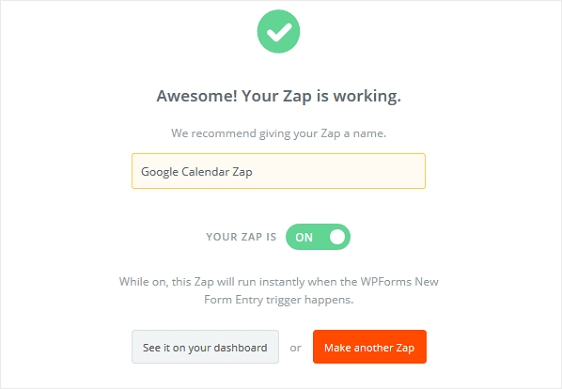
When you like how your form submission looks in Google Calendar, go back to your Zapier account, click Finish, and name your zap on the next screen for your reference.
Make sure to turn your zap on so it works every time someone submits a form on your site.
And there you have it! You now know how to send WPForms entries to Google Calendar.
For more awesome ways to use WPForms and Zapier together, check out these guides on how to:
So, what are you waiting for? Get started with the most powerful WordPress forms plugin today.
And don’t forget, if you like this article, then please follow us on Facebook and Twitter.